
Electrician Las Vegas | Ampere Electric Videos
Electrician Las Vegas | Ampere Electric | Videos Welcome to the Electrician Las Vegas Video Page for Ampere Electric. Here are a few recent videos from Ampere Electric, for
 Skip to content
Electrician Las Vegas | Ampere Electric | Videos Welcome to the Electrician Las Vegas Video Page for Ampere Electric. Here are a few recent videos from Ampere Electric, for
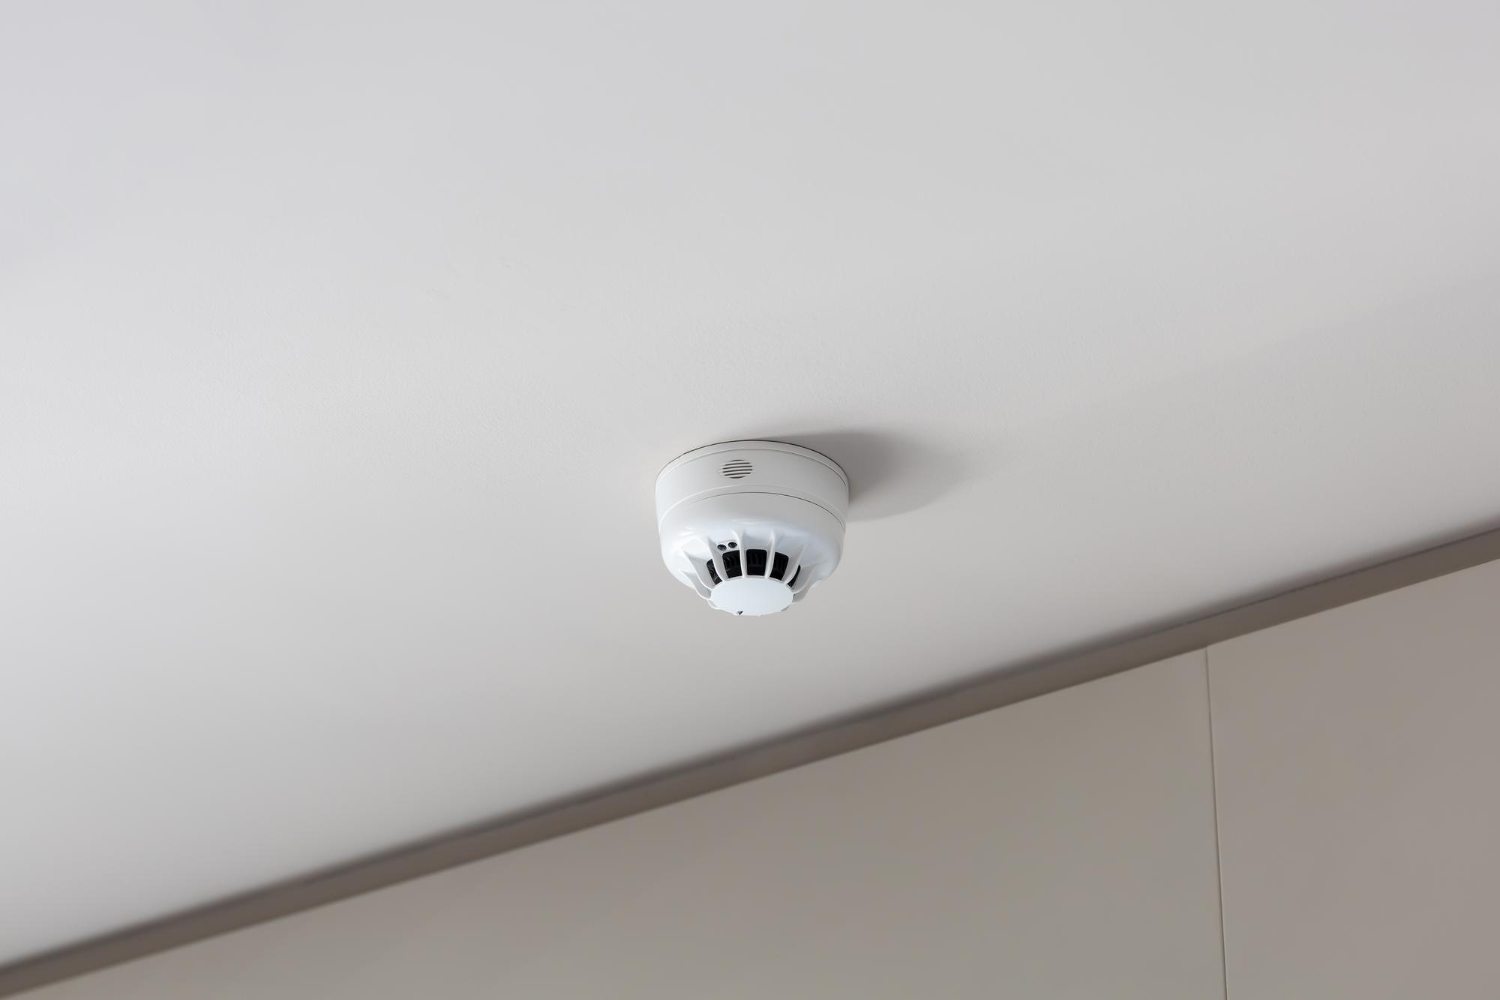
Homeowners in Henderson understand that safety features like smoke detectors shouldn’t be an afterthought. When it comes to choosing between wireless and hardwired smoke detectors, the decision often feels
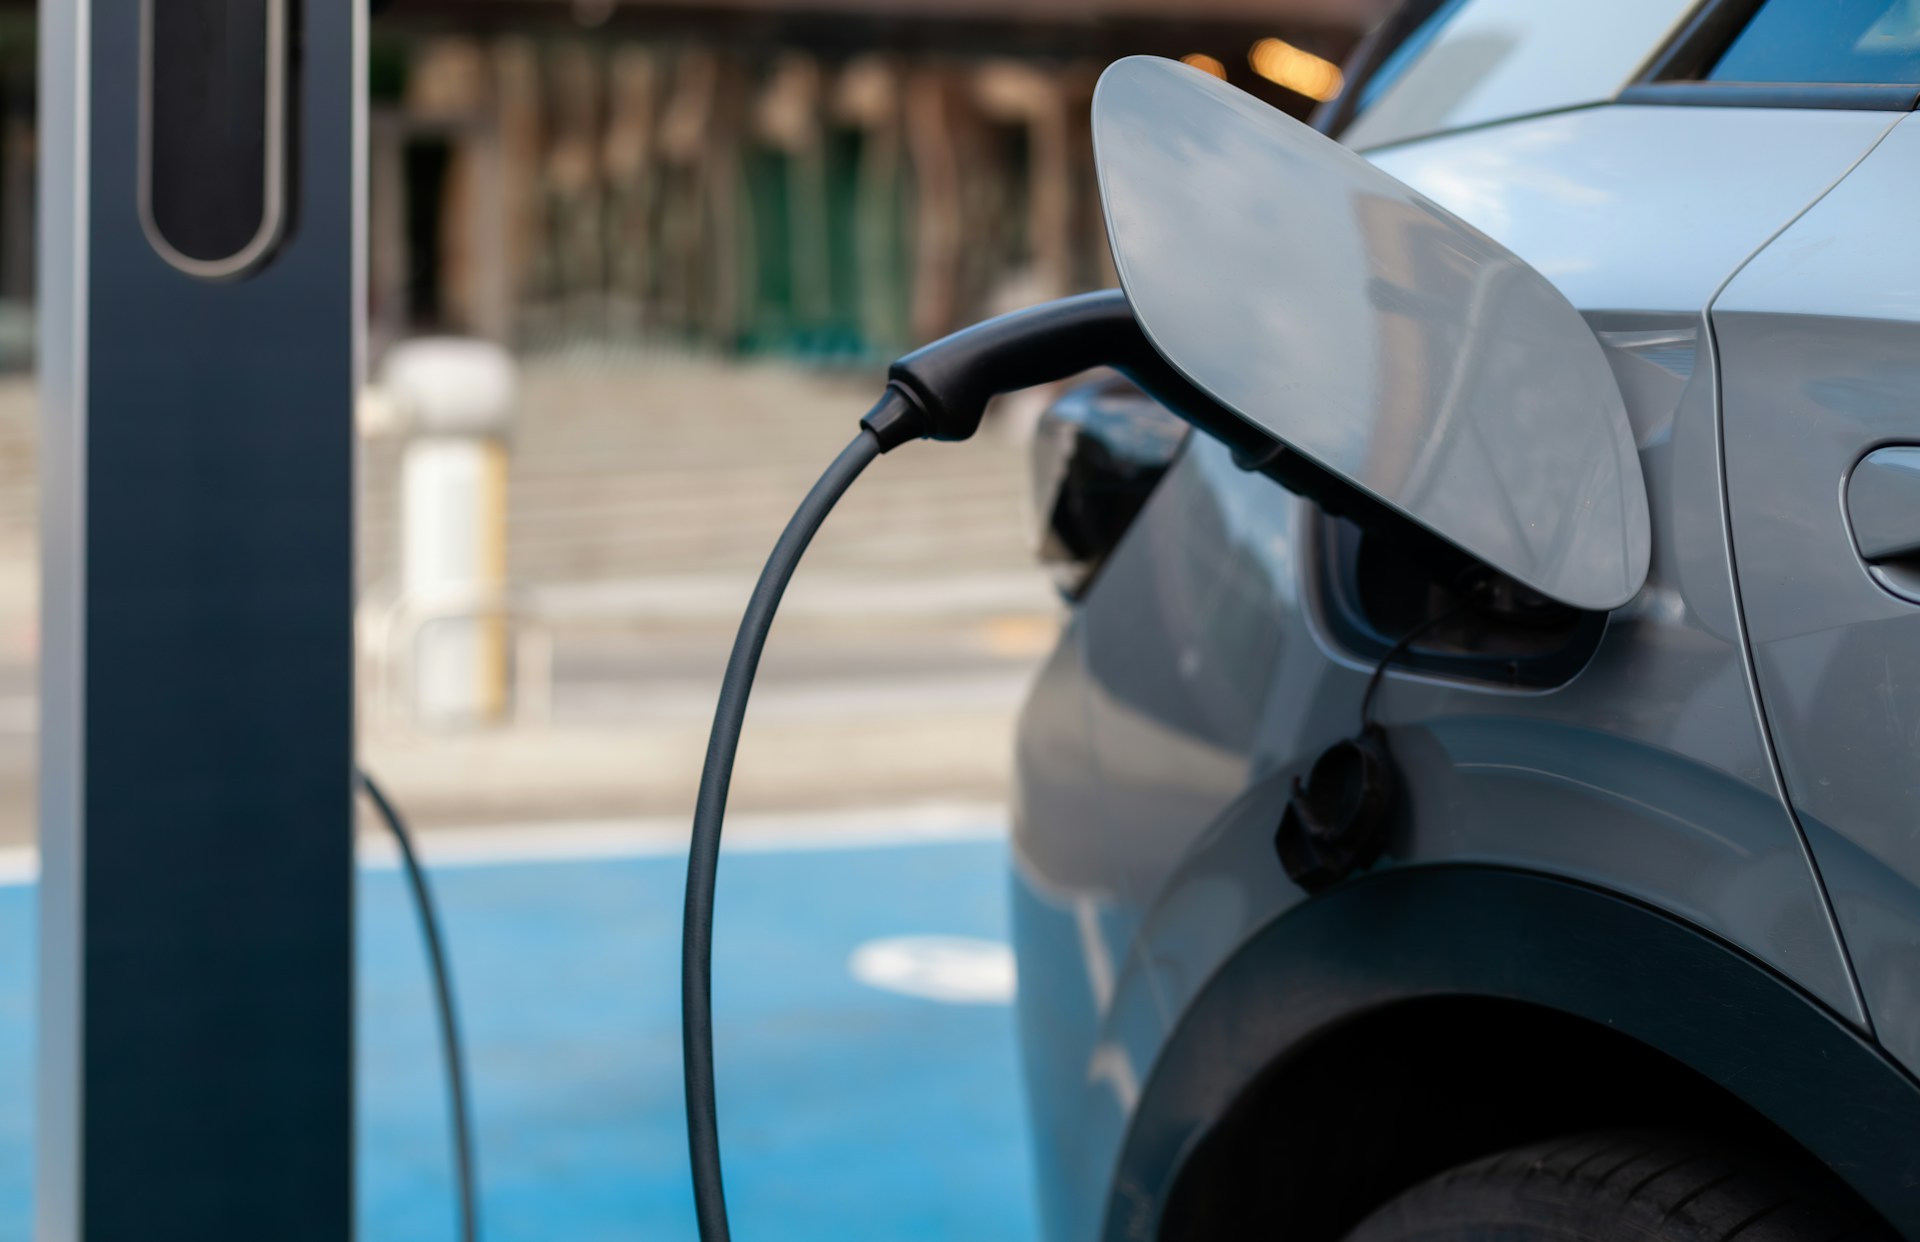
Homeowners in Henderson are seeing more electric vehicles pull into West Coast garages than ever before. But charging one properly still comes with challenges. Many residents rely on regular
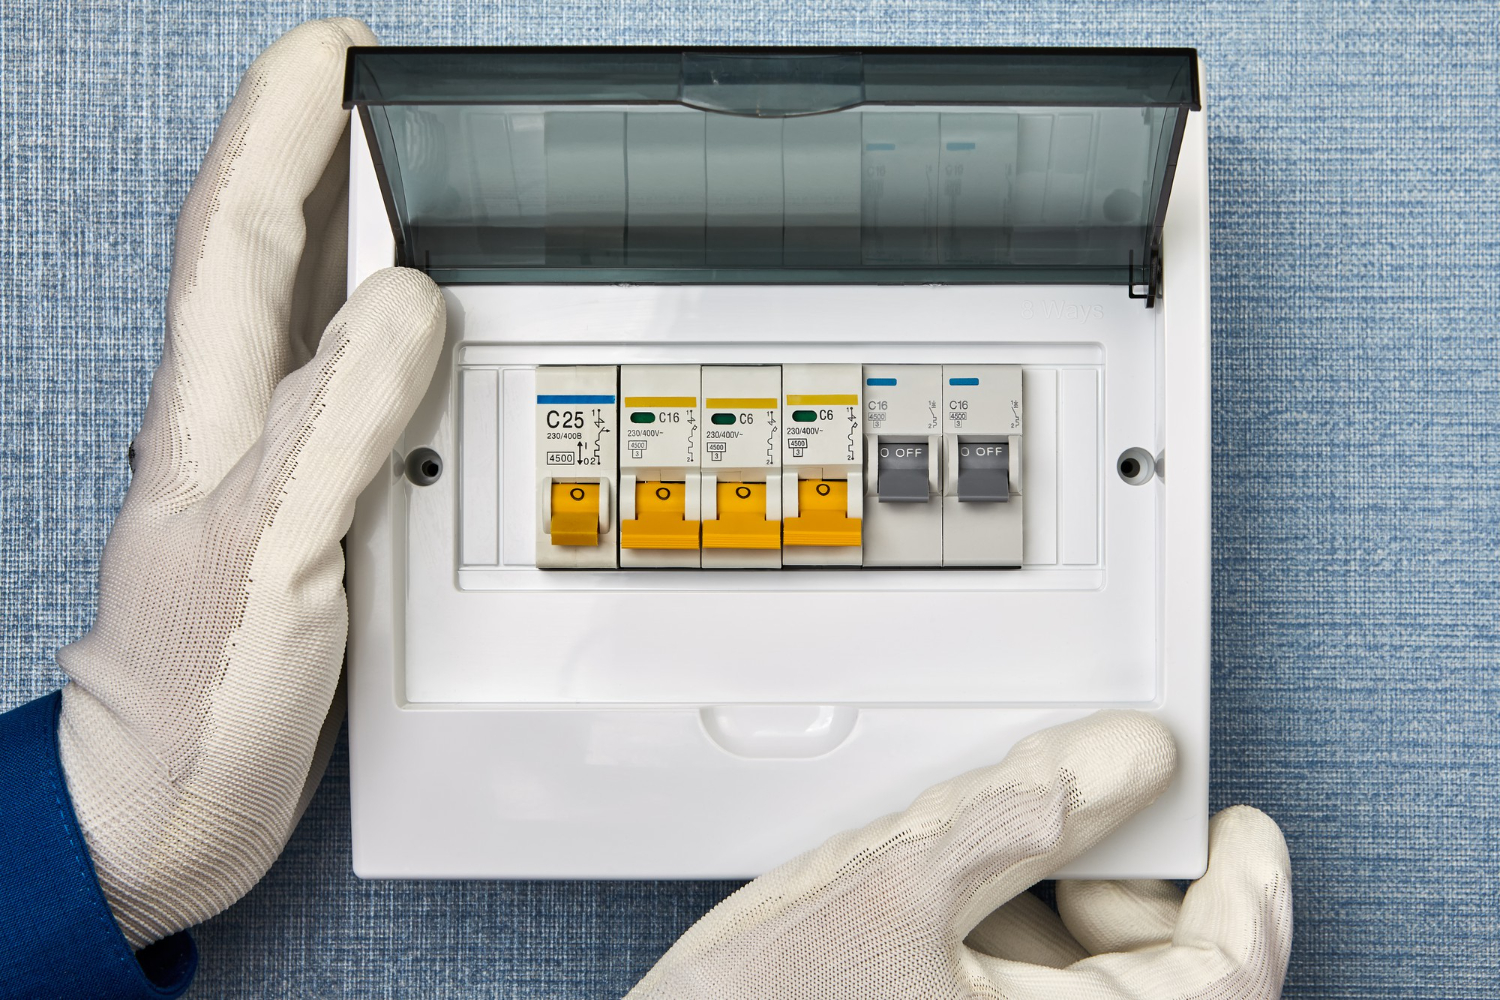
Managing electricity in a mobile home comes with its own challenges, especially in a city like Las Vegas, where summer heat pushes demand on cooling systems and appliances. If
Mobile homes across Las Vegas continue to grow in popularity thanks to their flexibility and affordability. But for residents, maintaining comfort and safety goes far beyond cosmetics or location.
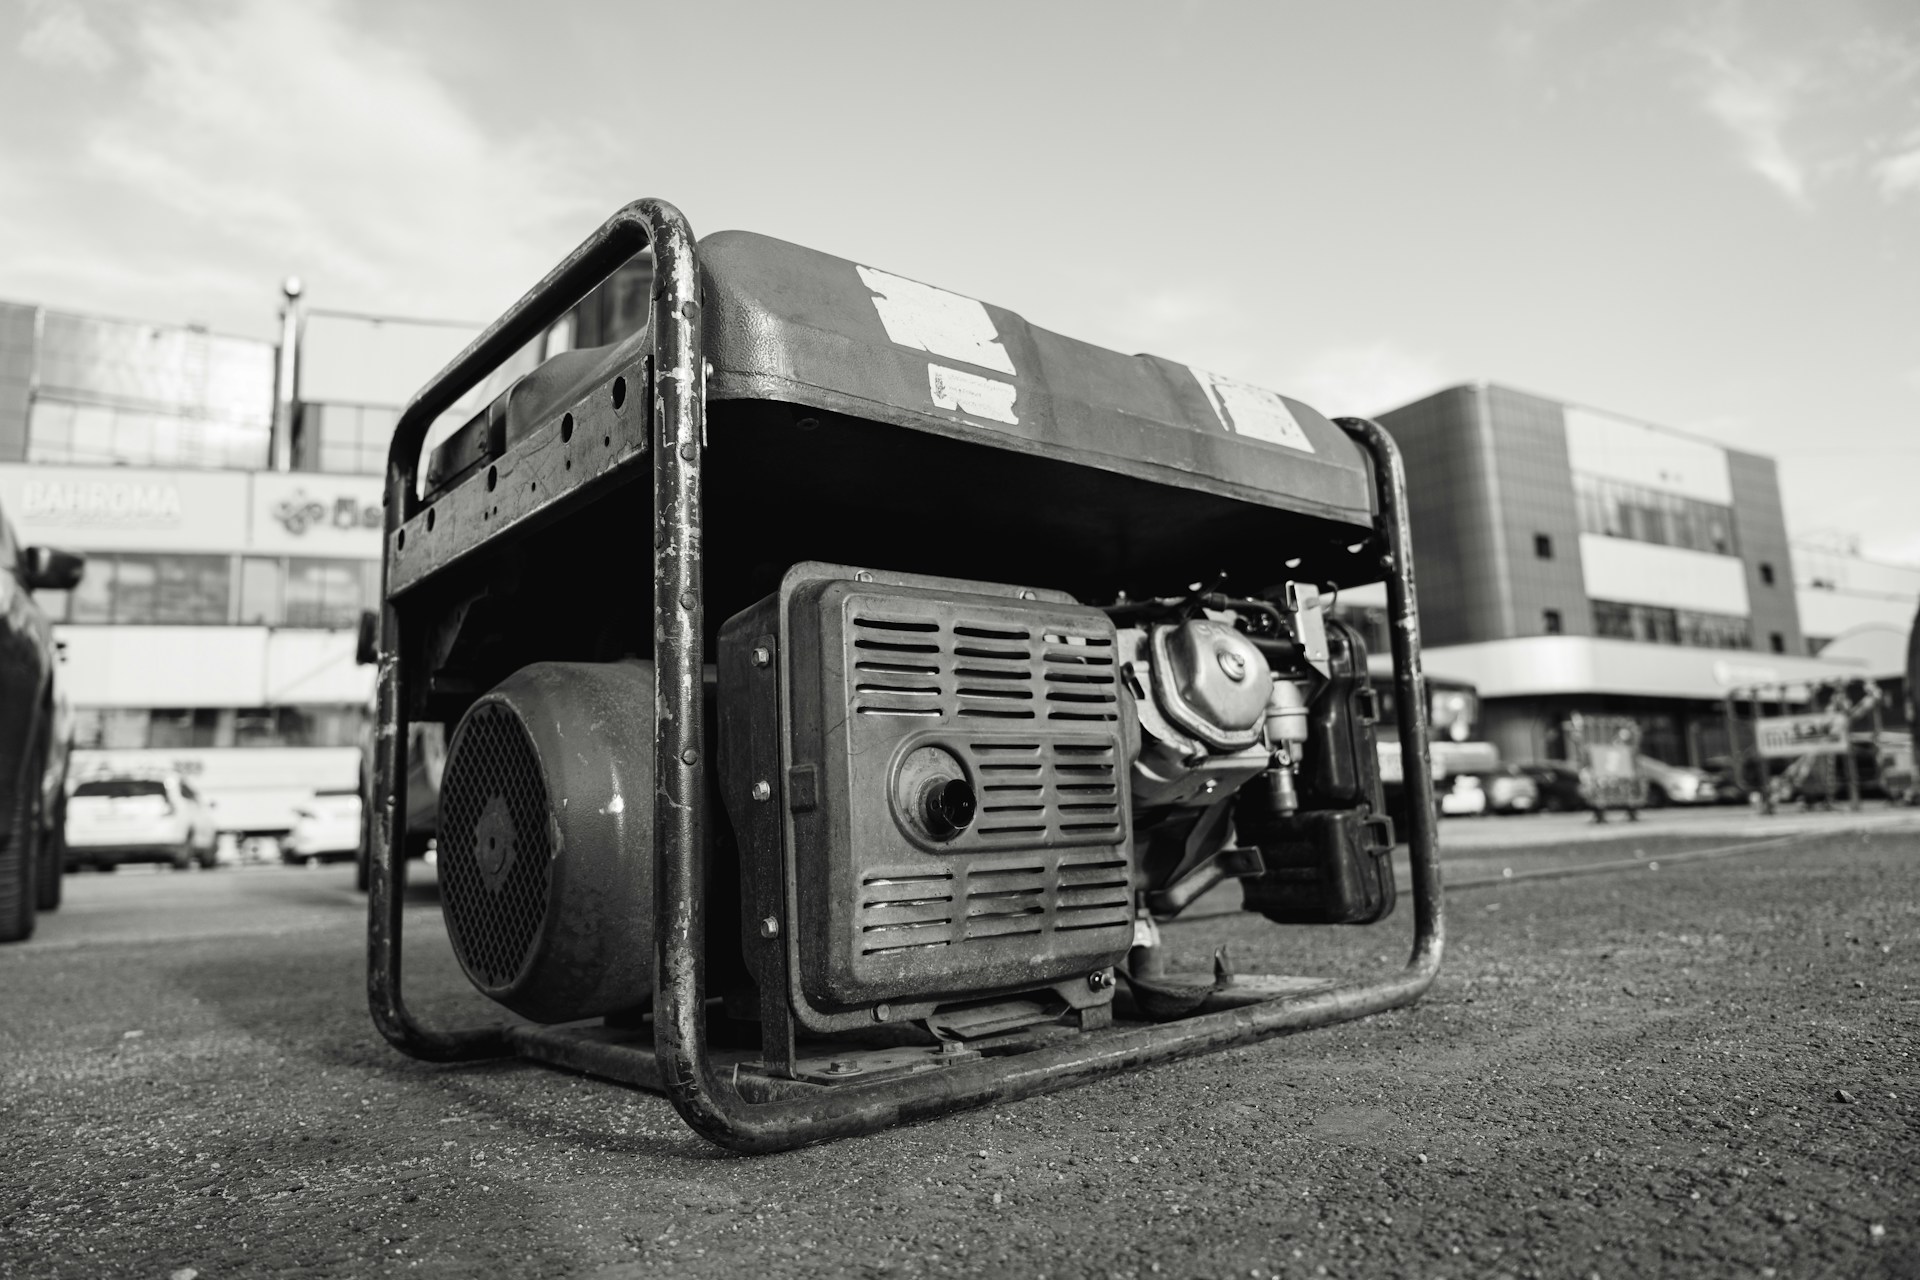
Power outages may be rare in Spring Valley, but when they do happen, they can create serious disruptions at home. A few hours without electricity can spoil food, damage